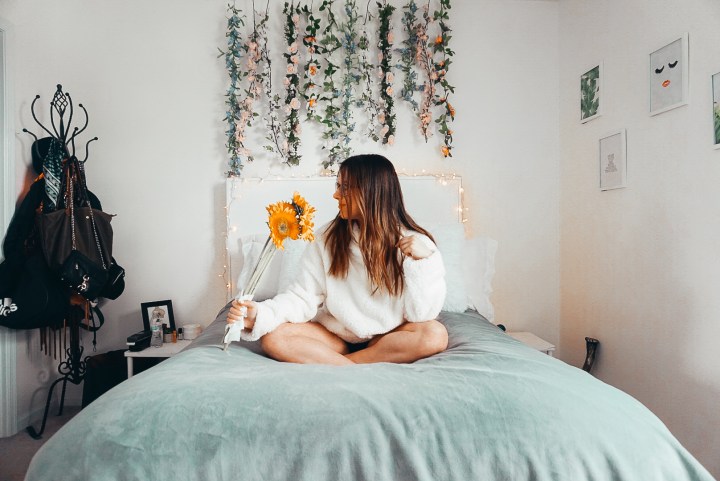
Although I like to think of myself as a social butterfly, there is really nothing I love more than being by myself in the comfort of my little space. Anyone else?
Ever since I was little, I would change and transform my room whenever boredom would strike me. Whether that meant painting the walls, drawing on the walls, moving my bed around… anything!
After basically going through the entire spectrum of the rainbow on my walls, a few years ago I finally decided to go classic and get the walls painted a creamy white, along with some white carpets. Yes, white carpets is risky business… I don’t recommend. Since then, I have somewhat turned into a minimalist and love my clean and organized little space.
I have always been a creative gal and love starting little projects. Although, i’ll admit I don’t always finish them. I’m not sure if it was the random 70 degree day we had a few weeks ago or WHAT.. but I once more got the urge to give my room a bit of a transformation. This time, it was straight DIY (do it yourself) style!
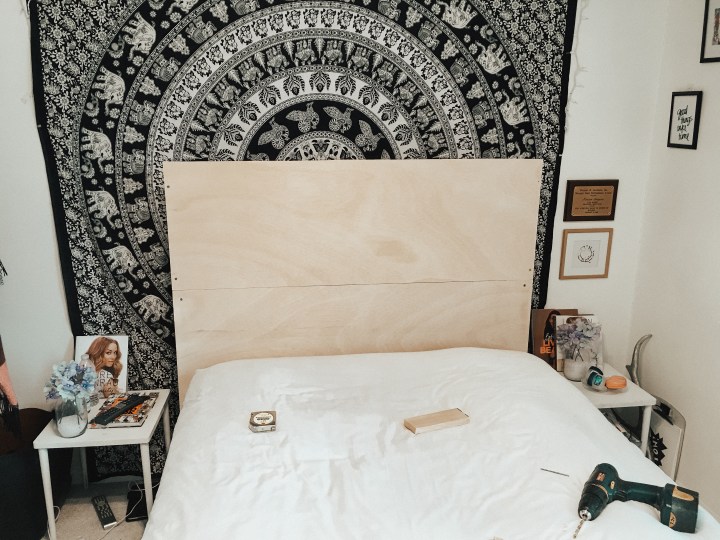
It all started when I decided that I wanted to get rid of the black and white tapestry taking up the main wall in my room. However, the tapestry was sort of masking the fact that my bed is without a headboard. So, that was the first order of business.
My first thought was to head to the thrift store, which was a fail. Although I did find some headboards, they were extremely dated and would require loads of work to get them from their old fashioned wood to a stark white! So, this is where I write a thank you letter to my dad, who is probably not reading this.
STEP 1- THE HEADBOARD
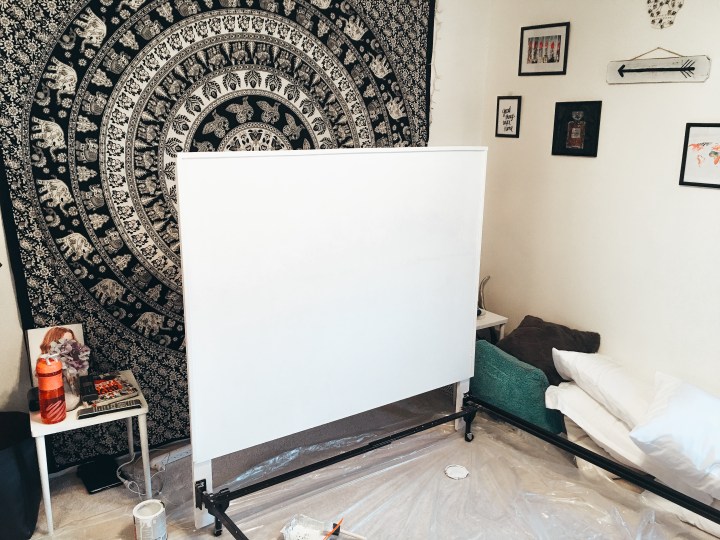
I have to give this one all up to my dad, because he took the time and effort to construct me my very own headboard! I LOVE IT. If I am being honest I have zero idea how this came to be, but I believe it involved two giant pieces of wood that got nailed together? No? I tried. It was then painted white and given a nice molding to finish it off.
STEP 2- THE FLOWER WALL
After scrolling through Pinterest for days, I decided to make myself my own little terrarium (basically). I wanted my room to still have the clean and classic look, with a little something extra. I contemplated different ways to go about achieving this look, one involving finding a branch outside and hanging the flowers off of it, but that was a no go. So, I although this may look rather difficult, it wasn’t at all! You will probably need an extra helping hand however (thanks mamma).
I ran over to Michaels Craft Store, and wasn’t expecting to find the strands of flowers already made! I was fully expecting to buy individual flowers and have to mend them together myself, but I was happily mistaken.
I decided to stick with a somewhat neutral color scheme consisting of pink, lavender and white… but the options were endless! I went through and cut the strands to the appropriate length, and used both halves throughout the wall. I do recommend buying a few more than you may originally think because I had to run back to grab more.
Measure out where you want your flowers to go, screw in some s hooks, and hang your flowers! It’s as easy as that!

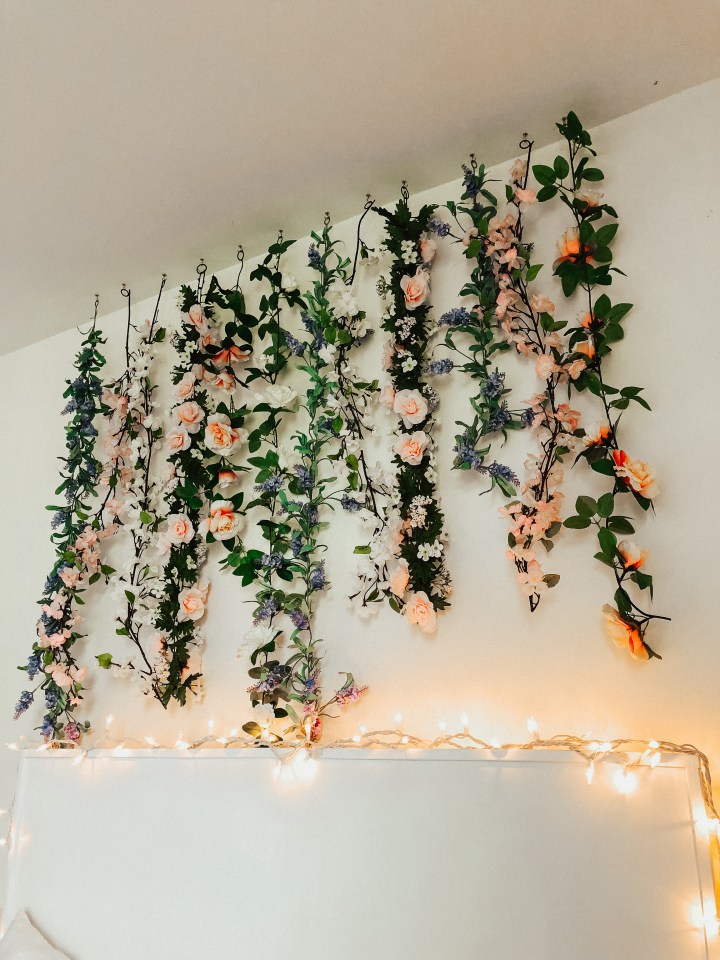

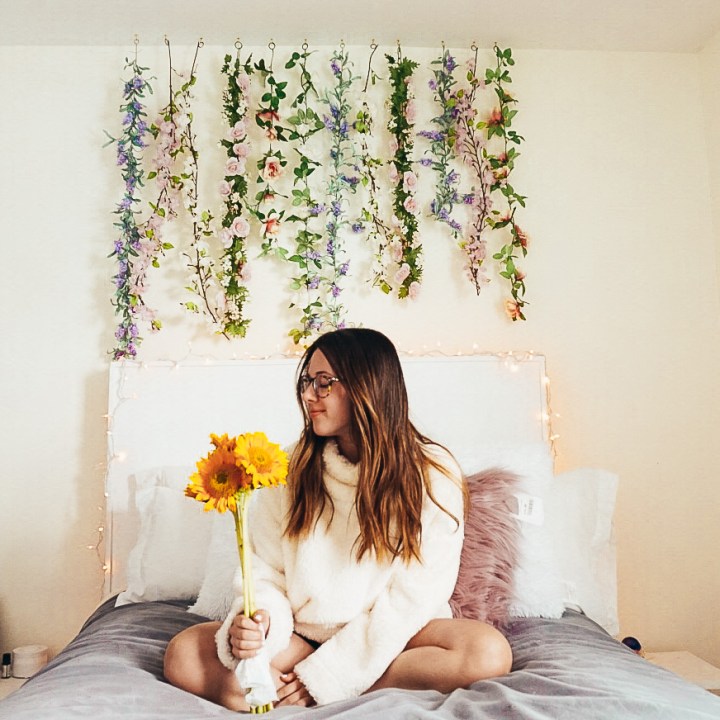
Can’t forget the twinkle lights around my headboard, simply the best part.
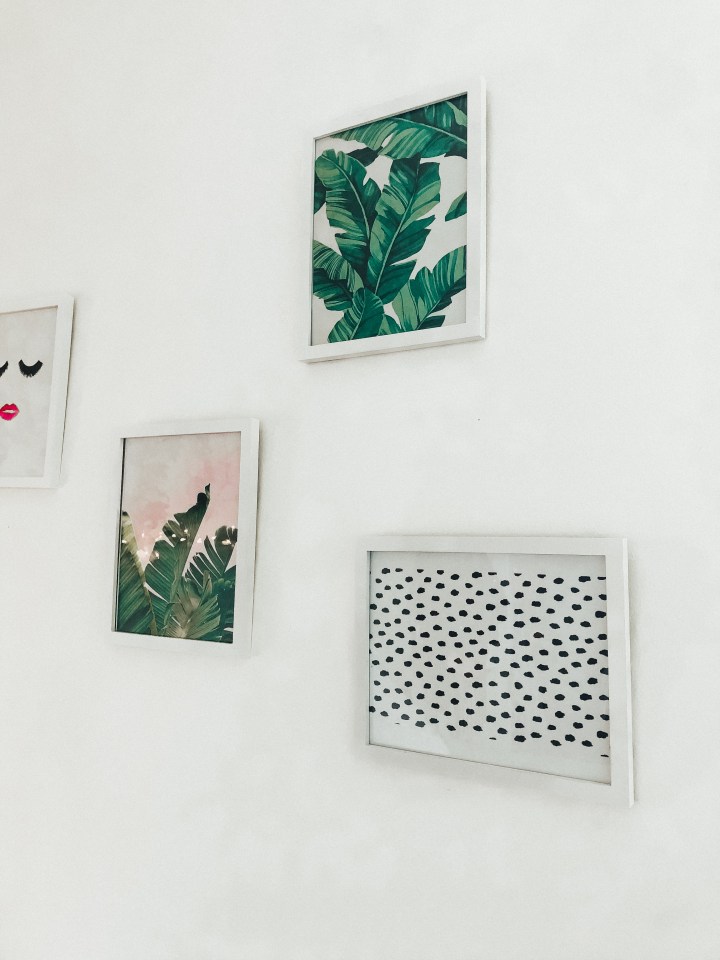
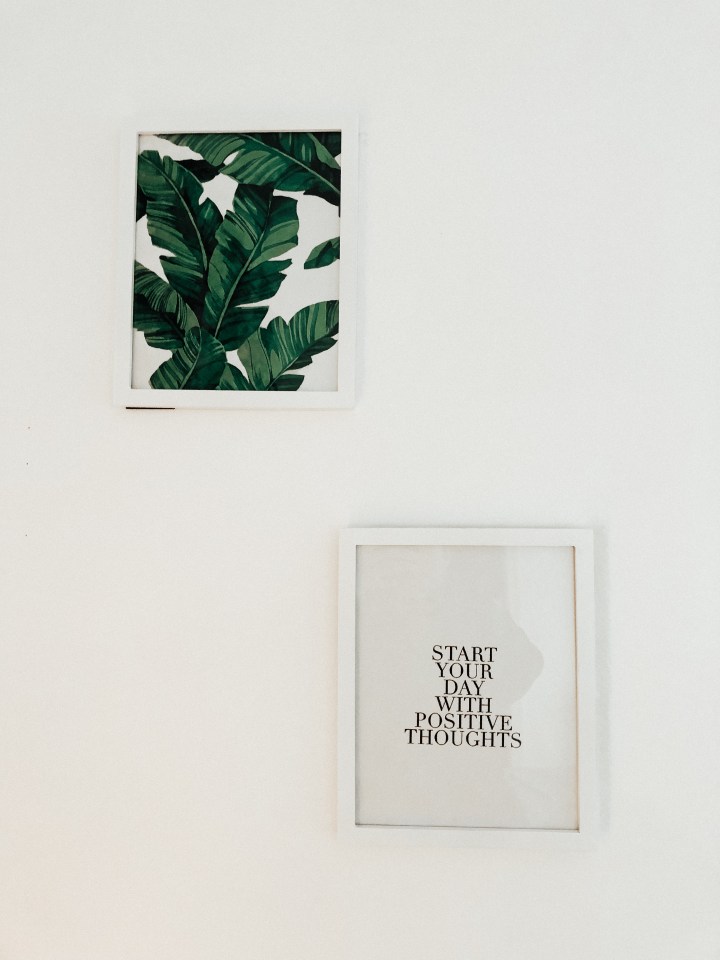
STEP 3- THE PHOTO WALL
I love a nice photo gallery. I watched so many room tours on YouTube on the search for inspo, and kinda used a mixture of them all. I decided on these print outs below ↓
If you want to accomplish this transformation in an in expensive way like I did, then you can simply print these out yourself, rather than spending the money for hard print outs from Etsy (or anywhere else).
Believe it or not, I had some trouble finding white frames! I tried painting black ones, but they didn’t turn out as planned. Eventually however, my mom found these bad boys for me! Yay this is my gallery wall!

Now, i’m basically finished.. however spring cleaning is still on my list of things to do. Ugh, anyone else dreading it as much as I am!?
